How To Connect Your MIDI Keyboard In Logic Pro
Mar 30, 2023
In this blog post, I’m going to show you how to connect a midi keyboard to record in Logic Pro. After a brief explanation of midi, I’ll share a bit about the different types of midi controllers, why you’d want to use midi in a digital audio workstation (DAW), and the step-by-step process for connecting your midi keyboard. First, a brief history!

What Is MIDI?
Midi stands for “musical instrument digital interface” and its name describes its function. Think of midi as a language of sorts. Any instrument or digital device with midi technology can communicate to another device that speaks the same language.
This language was developed and standardized in the 80s. Before then, two separate instruments or consoles from different manufacturers would have trouble communicating with each other.
For our purposes today, a midi keyboard is a keyboard that is equipped to send signals or commands over to another device or computer. Logic Pro (and most all DAWs) can be used with a variety of midi inputs.
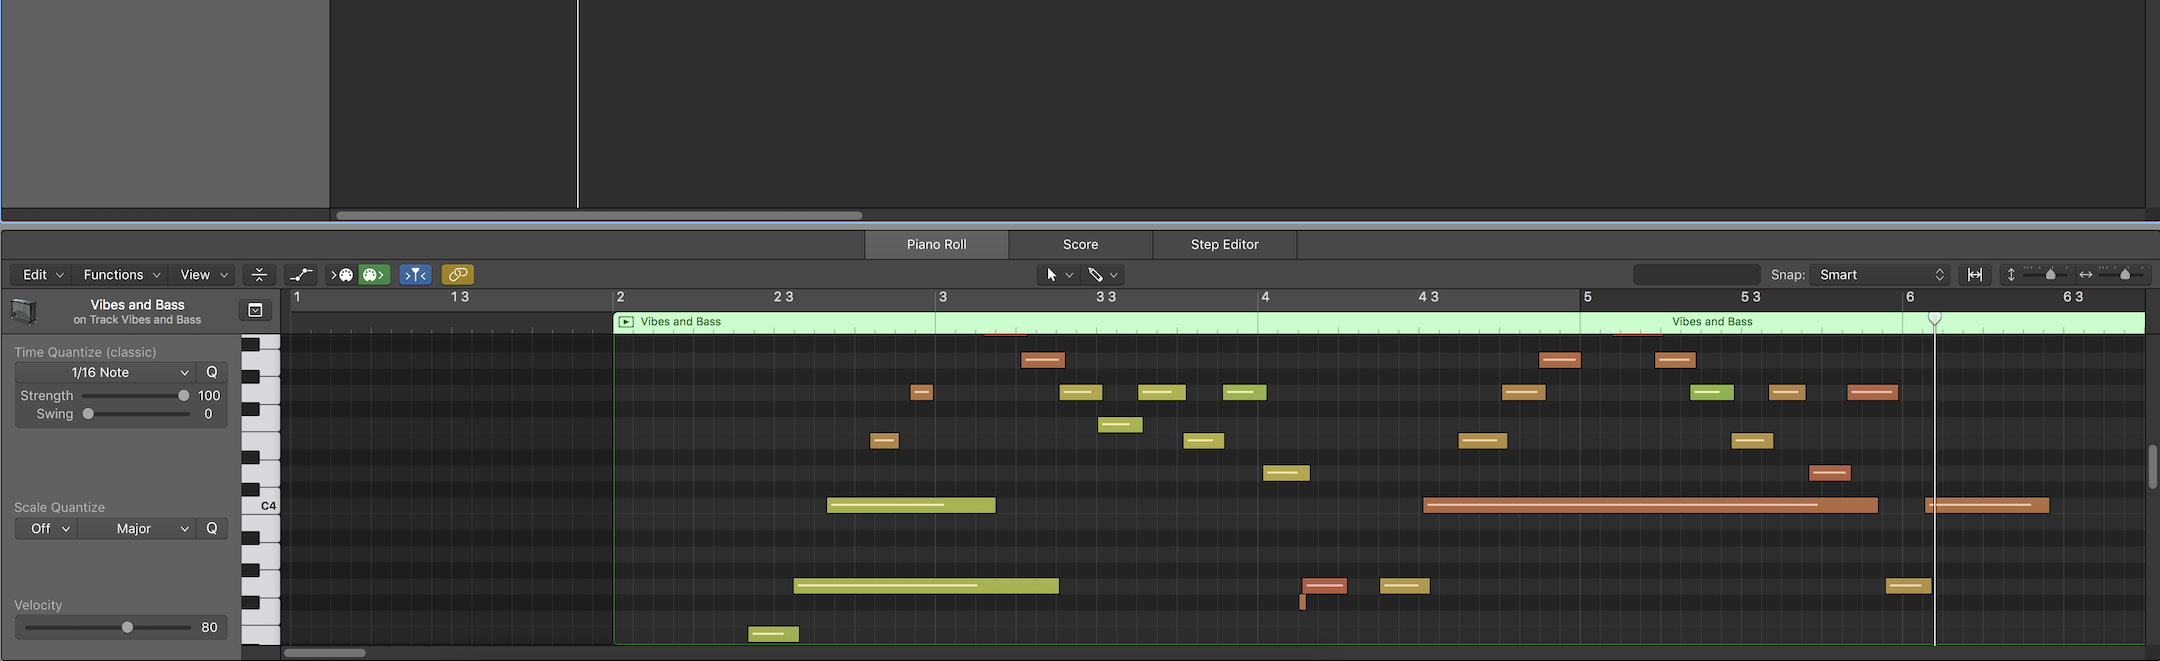
Here is what midi looks like in Logic Pro:
What Type Of MIDI Controllers Are There?
There are different types of midi controllers that can be used to record and input musical data into a program like Logic Pro.
Today, we are talking about keyboard controllers. Most keyboard controllers created in the past decade or so will use USB to connect to your computer. Most older models will use a midi 5 pin Cable.
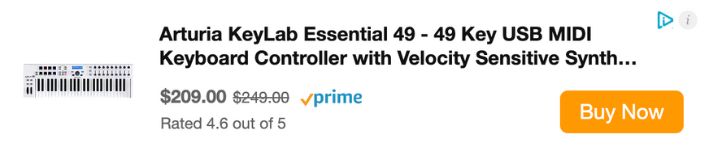
Whatever type of midi keyboard you have, you’ll need to make sure that you have the correct adapter to plug your keyboard into your computer. If you don’t have a midi keyboard yet and aren’t sure what to get, check out this post on the best midi keyboards for beginners. I personally use the Arturia KeyLab 49.
There are also different types of midi keyboards in terms of software recognition and power supply. Let me break it down into basic terms:
If your midi keyboard is “class compliant,” your computer will recognize the midi device as soon as it’s plugged in. If it’s not class compliant, you’ll need to download a software driver for the keyboard to be recognized (more on that in a bit).
And, finally, let’s talk about power supply. Most midi keyboards are bus-powered, meaning they are powered as soon as you plug them into your computer. Others will need an external power source.
Before you connect your midi keyboard to Logic Pro, you’ll need to be sure that you can:
- (a) connect your keyboard to your computer hardware, and
- (b) that your keyboard is powered and ready to go.

Why Connect A Midi Keyboard In The First Place?
While you can turn your computer keyboard into a midi keyboard on Logic Pro. This is called 'musical typing' and I have a video tutorial on that here. Continuing on, using an external midi keyboard can provide greater range, ease of input when it comes to playing parts, and some additional versatility depending on the keyboard and its functionality.
For example, the midi keyboard I use, the Arturia KeyLab 49, has additional buttons, faders, and knobs that can be pre-programmed for inputting specific sounds and parameters. But, even if you have a “less fancy” keyboard, it is still a valuable tool for recording music.
I didn't always have the Arturia Midi Controller. However, it suits my needs right now. When I first started producing music in Logic Pro. I used the a simple Nectar 49 Midi Controller. Another popular option for beginners is the Akai Mini Midi Controller:
Steps For Connecting Your Midi Controller
So, you’re ready to connect your midi keyboard to Logic Pro. Let's get going. By the way, you should consider getting my free guide on learning Logic Pro Faster.
Step 1
First, make sure that your midi keyboard is plugged into your computer and is powered on.
Step 2
Next, start an empty Logic Pro session. When you open the session, it should automatically register your midi keyboard in (this part) as a midi input.

Step 3
After you open a new project, you need to choose a track type. Select “Software Instrument” and keep the default settings. (Note the “I hear sound from” option the in the lower RH corner. If you have an external speaker or headphones, be sure that you are connecting to the correct output.

The default Logic Pro instrument library should automatically open with your software track. You can select the instrument you want to use for your recording. In this example, I selected “Vibes and Bass.” Start playing your keyboard to check that you can hear your sound. (Note: the volume slider will also register your input velocity. If you see that lighting up but you do not hear anything, check your output settings.)


Step 4
Make sure your track is set to record and you are ready to use your midi keyboard!
Note: Once you get comfortable with midi basics, you can assign parameters and functions to other parts of your midi keyboard. Pretty cool, right?
Troubleshooting Your Midi Controller
If you’re having trouble connecting your keyboard, you can perform some basic checks and some more advanced troubleshooting steps.
If you want to remove all your headaches with Logic Pro then get my free guide on learning Logic Pro faster.
Simple Troubleshooting
- Unplug your keyboard and plug it back in again. Yes, it sounds simple but most of the time this will save you.
Note: If Logic Pro is recognizing your keyboard, a pop-up should appear on the screen when you unplug it and will reappear when you plug it back in (like in the screenshot below).

- Close Logic Pro and reopen Logic Pro. Again, sounds simple but often times these simple troubleshooting tactics work.
Advanced Troubleshooting
- Restart your Mac and begin the process over again.
- Reset midi drivers
- Visit Preferences > Midi > General and click “Reset All MIDI Drivers”. This step will signal Logic to disconnect and reconnect all available midi channels.

- Make sure you that you update your Logic Pro. Apple is continuously updating Logic and fixing bugs.
If you still can’t connect, try switching out your cables. It’s also good practice to have a couple of backup cables on hand for this sort of thing.
Final Thoughts On Connecting Midi Controllers
One of the benefits of using midi is that you can focus on getting the right part but can always change or tweak the instrument you used for it. Unlike recording a live instrument, anything recorded via midi can be edited and tweaked as musical data. I love this about midi. For example, often times I'm working on a song in Logic but then I want to change the tempo or very quickly quantize my instruments so they are locked in time. This is all very easy to do with Midi.
Once you get your midi keyboard connected, the real magic begins. Have fun. By the way, I'd love to help you on your music journey. Whether that is Logic Pro, songwriting, music production, or mixing. I do it all. I suggest getting my free 6 pillars on learning Logic Pro faster.


