How To Use Automation In Logic Pro
Feb 02, 2022
Automation is a function within Logic Pro that allows you to control specific parameters of the software over time.
This is useful if you want to give your production / mix some development, rather than having a static mix that has minimal changes throughout. In this post we will aim to explain the different types of automation available and how you can use them to add some dynamics to your productions.

By the way, if you'd prefer to watch a video on how to approach automation in logic pro then you can do so below:
How Do You Access Automation?
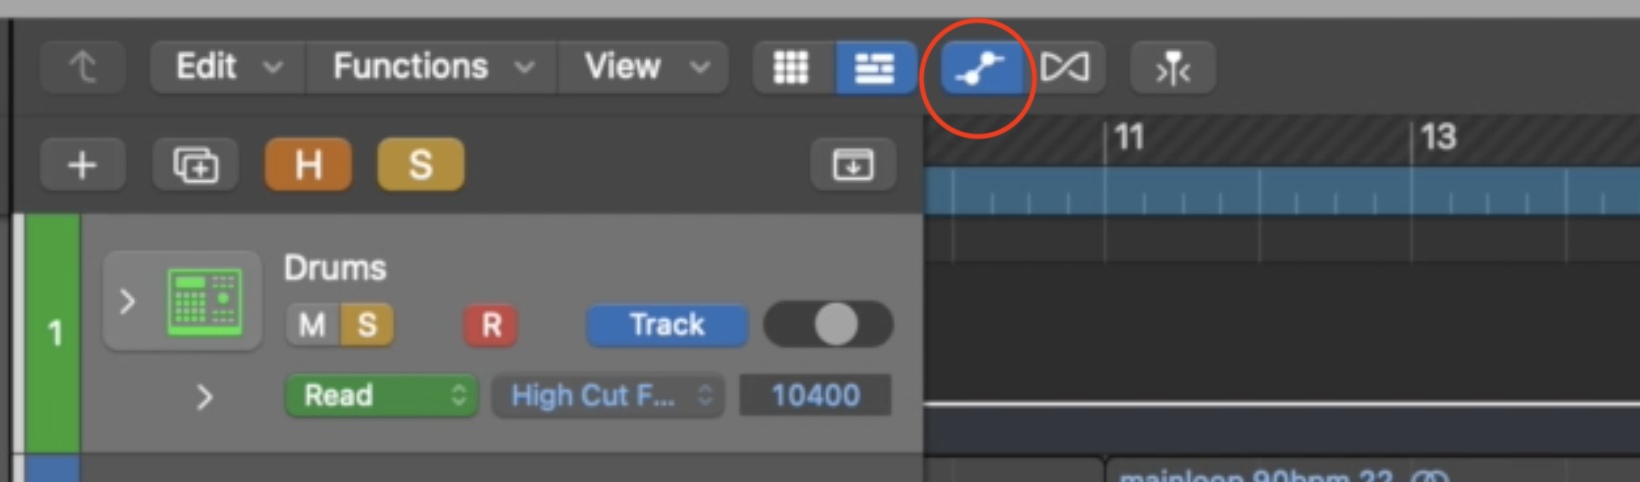
Clicking on the automation symbol in logic will open up the automation view.
Alternatively, pressing ‘A’ on your keyboard is a shortcut to do the same thing. The image below shows where this button can be found:
4 Popular Types of Automation
-
EQ Automation
-
Volume Automation
-
Pan Automation
-
Reverb Automation
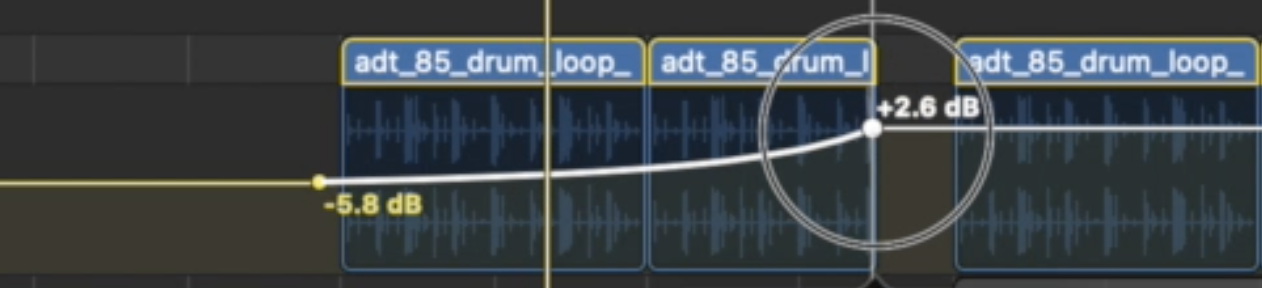
EQ Automation (The Underwater Effect)
One popular use of automation is to use low-pass filtering to make your track sound as if it is rising up from underwater.
This is done using an EQ with a high cut set initially to a low frequency, with automation applied to gradually move the frequency up through the spectrum.
Firstly, make sure you put an EQ on your track and turn on the high cut parameter (the one furthest on the right). Now we need to make this parameter visible in the automation lane for that track. Below is a picture showing how you access this in the automation view:
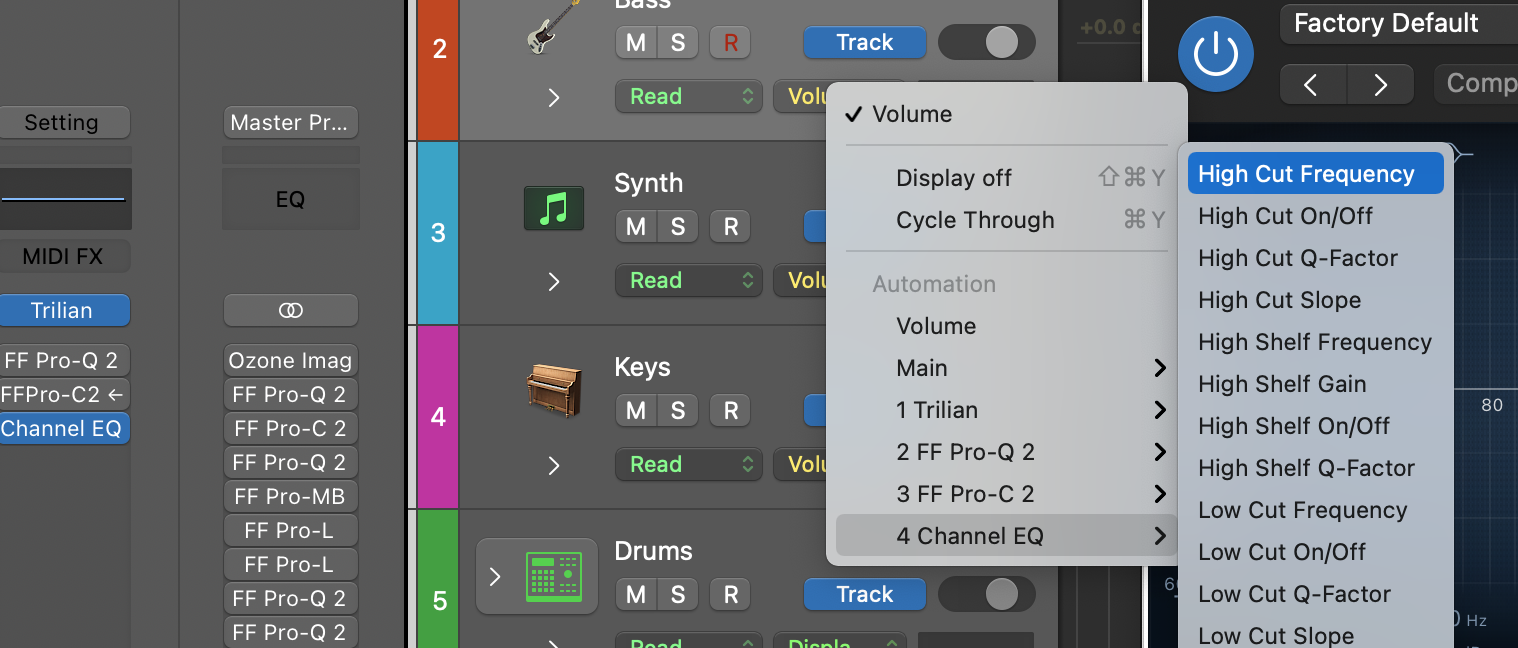

Tip: You may find it useful to go into the menu bar and make sure the following option is ticked:
Mix > Autoselect Automation Parameter in Read Mode
This will make the last parameter you clicked on appear as the first item in the automation list for that track, allowing you to start programming automation much faster.
We can now click on the automation lane in the track and start drawing automation points.
To create the rising from underwater EQ effect, draw one point at around 100-200 Hz and another point that moves the high cut up to somewhere around 10-20 kHz. Below is a picture of how your automation lane should look:

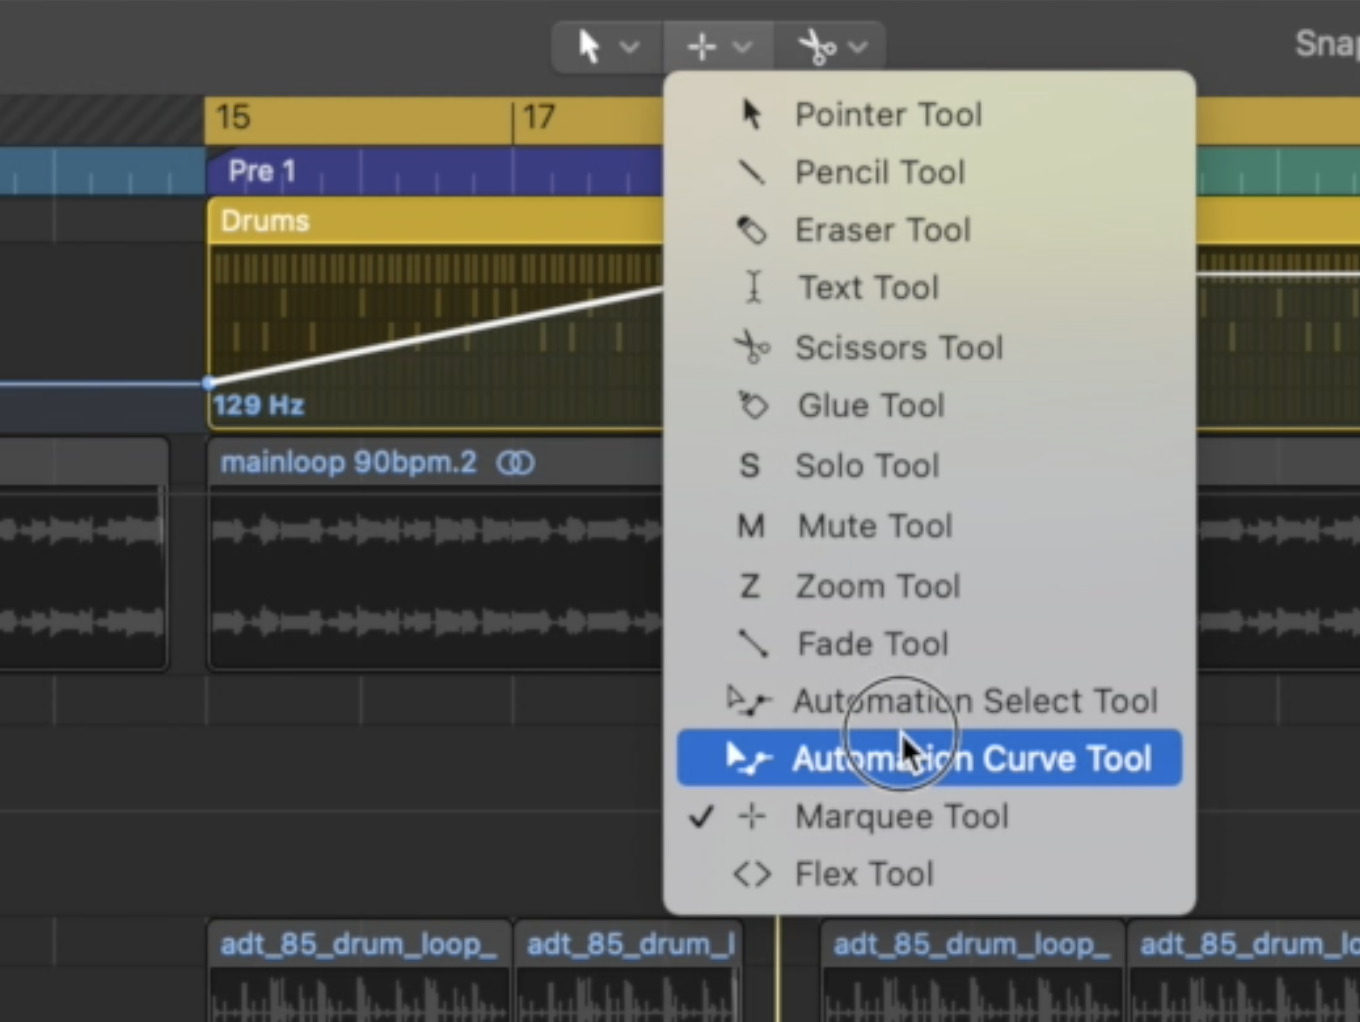
If you want to draw automation that is not so linear and has more of a natural sound, it can be good to give the line some curvature. We can do this by selecting the “Automation Curve Tool” in the Logic tools dropdown menu and then using this tool to shape the automation lines. Below is an image of where to find this tool and what the result should look like:

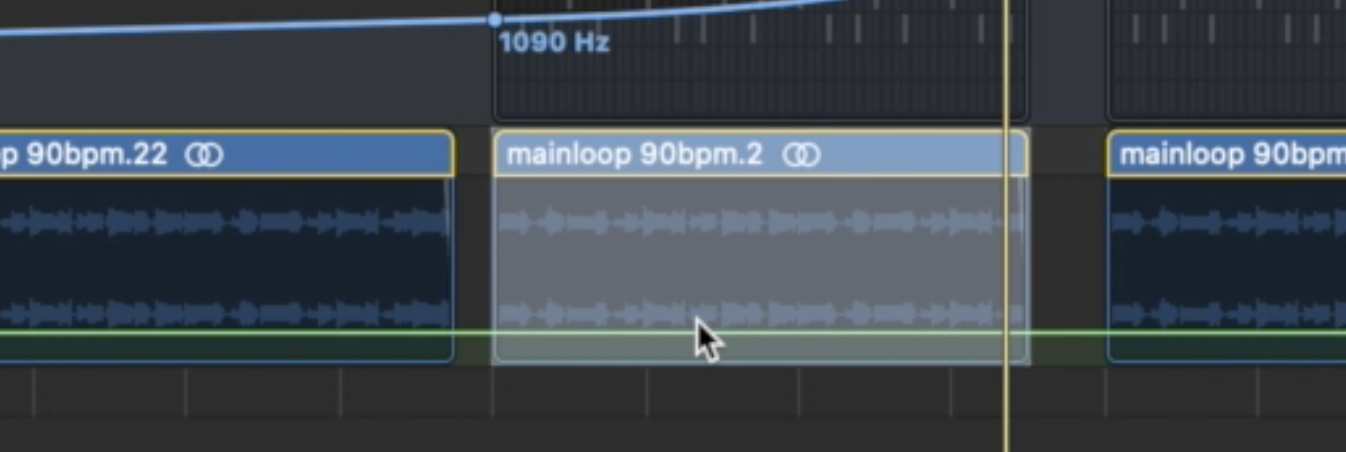
Tweak the curvature and the placement of your automation until you find the ‘sweet spot’ where the automation sounds natural and pleasant to the ear.
Reverb Automation
Reverb automation is a powerful tool you can use to add some spatial dynamics to your mix. Some producers like to automate the reverb in the pre-chorus to become more wet throughout the section and then disappear for the chorus.
This creates a sense of the instrument moving further away and then back close.
The process of applying this is the same as we would do for EQ automation. Start by placing your preferred reverb plugin on the track you wish to use this effect on and click on the ‘mix’ (or equivalent) parameter on your reverb plugin, so that it becomes the first item on the list in automation view.
Once you have done this, you can start drawing in your automation points.
Tip: You can use the marquee tool in automation view to select an area, then click on the marquee area to quickly add isolated automation points.

Just like with EQ automation, we can adjust the placement of the points and use the curve tool to find the sweet spot where the automation sounds best.
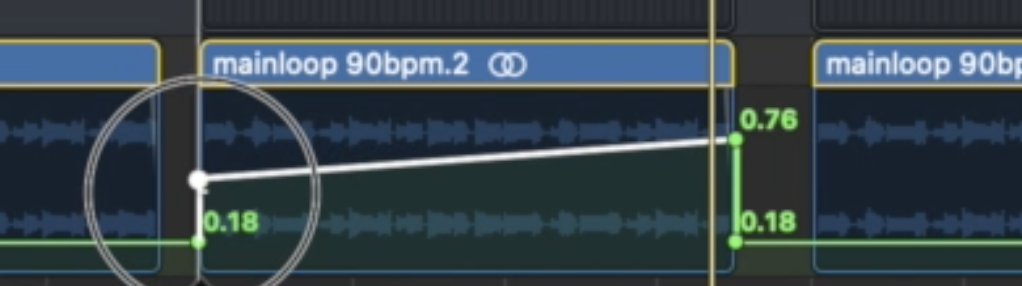
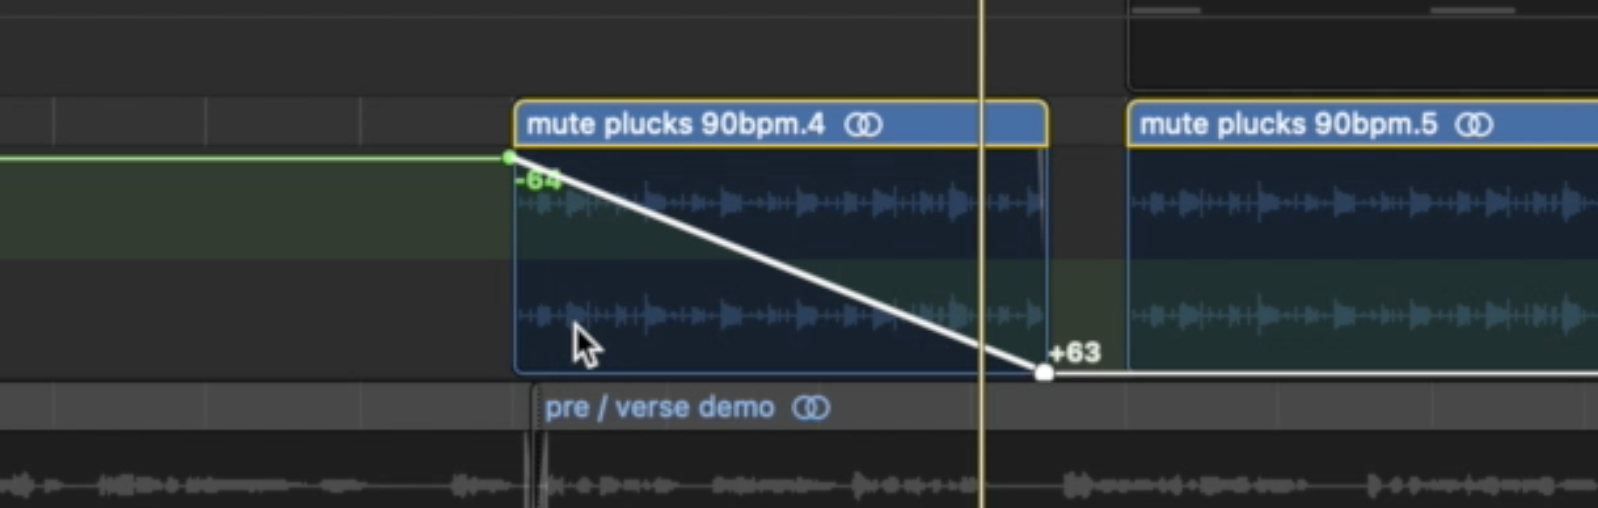
Volume Automation
If you haven't clicked any other parameter, volume automation is by default the first item in the automation list. This is another way of adding some dynamics to your mix rather than having all of your elements be the same volume throughout.
To apply volume automation, simply repeat the process used previously to apply EQ and reverb automation.
Below is an image of volume automation being applied:

Tip: Right clicking on the track will display a list of options for deleting automation.
We can also automate multiple different parameters at the same time on any given track.
You could have EQ, volume and reverb automation all happening at once. When a track has multiple automation lanes, they are shown as greyed out lines overlapping one another as shown below:

Pan Automation
Panning automation is a great way to give your mix some stereo dynamics.
You can use it to create subtle or extreme panning effects. The process for adding pan automation is the same as for EQ, volume, reverb, etc. Below are some example images of subtle and more creative pan automation:

Different Modes of Automation
There are four different types of automation used within Logic and each of them function slightly differently. The four types fo automation are:
- Read
- Touch
- Latch
- Write
Read
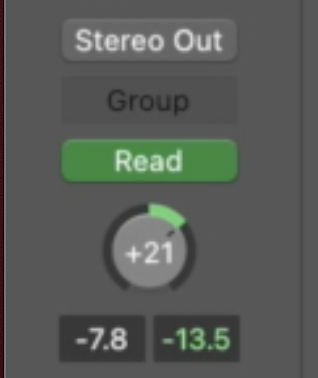
Read mode means that the track will simply read the automation data that is in the automation lane.
When the track is in read mode, you can only create automation by drawing the points in with your mouse as shown above.
Touch
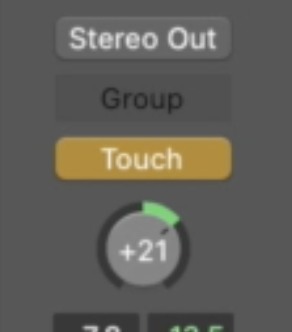
Touch mode is different from read mode in that it allows you to create automation by manually adjusting a parameter in real time.
With touch mode on, all you have to do is start adjusting a parameter while playback is occurring and it will draw in the automation points.
When you let go if the parameter, it will jump back to the original position before you started adjusting it. Below is an image of some automation recorded in touch mode.
Note how the parameter reverts to its original position at the end:

Latch
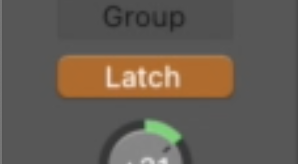
Latch is the same as touch in that it allows you to program automation by making adjustments in real time, but the difference is what happens after you let go.
Unlike touch mode, releasing the parameter in latch mode will leave it wherever you left it, rather than jumping back to the original position.
Notice in the below image that the parameter stays where it is when playback is stopped:

Write

With write mode selected, the playhead will erase any previous automation you have made while simultaneously writing data for all other parameters you have made automation lanes for.
Since this mode is so destructive, it is usually recommended to stick to the other modes instead.

Final Thoughts on Automation in Logic Pro
Automation is a very useful and powerful tool you should always use to add some development to your mix.
Use parameters such as touch and latch when you can as this will give you a more human sound. You always have the option to do this to go back and make fine adjustments by clicking later.
Always make sure that you set the track back to read mode or every time you adjust a parameter it will record it as new automation.
This is especially dangerous in write mode which will delete all your previous automation and re-write new data. This is why we which don’t generally recommend using write mode.
If you'd like to learn more about automation, music production, and songwriting in Logic Pro then I recommend my 6 Pillars on Learning Logic Pro Faster.


